
The Ubuntu Software Center is Ubuntu’s graphical tool that help you to download more programs and apps for your new Ubuntu operating system. From the Ubuntu Software Center you can browse for software by category and simply click install for a worry free installation of new software. It has never been this easy to find the software you are looking for and to install it. Continue reading this guide to learn how to use the Ubuntu Software Center.
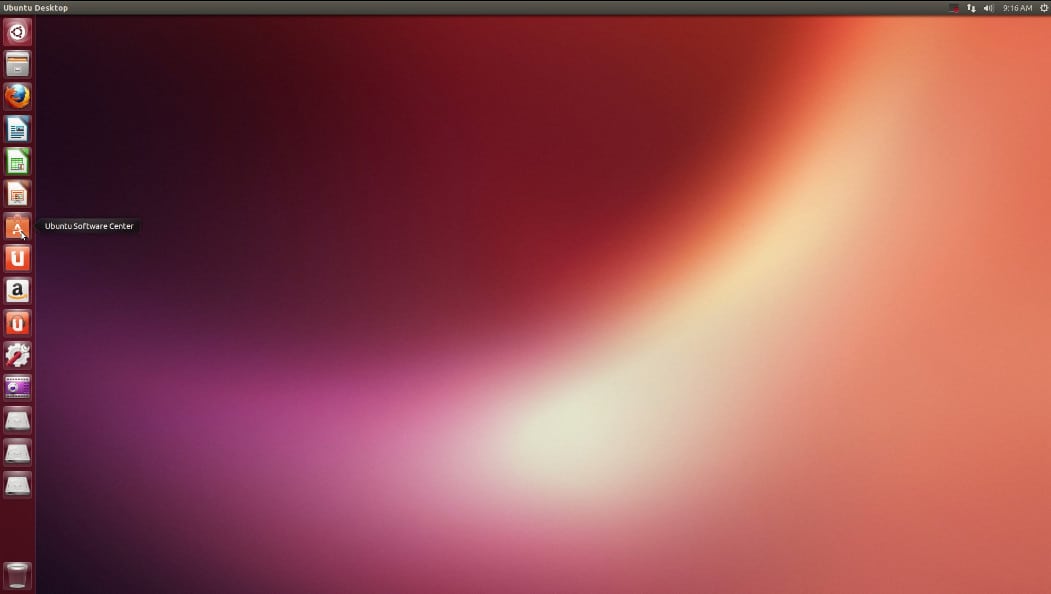
There are multiple ways to get to the Ubuntu Software Center and in this guide I am going to show you two of them. The first way to get to the Software Center is by going to the Unity launcher on the left and clicking on the Ubuntu Software Center icon as shown in the picture below.
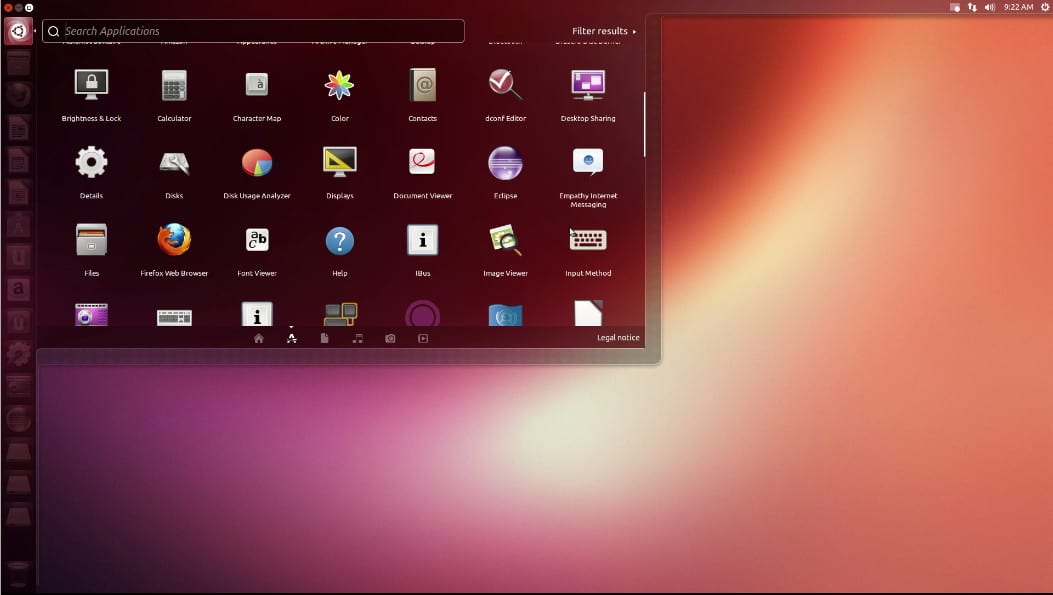
The second way to get to the Ubuntu Software Center is by going to the Unity Dash Launcher in the top left corner and searching for the Software Center. As shown in the photo below.

Once you are in the Ubuntu Software Center you will notice that there are several different things that you can do from the main screen. On the left panel you will see that there are categories that you can choose from to browse for software based on what you are looking for. There is also a top rated section on the bottom and in the middle is a section that contains software that is recommended specifically for you. The is a “What’s New” section on the top that contains new software that is just taking off.
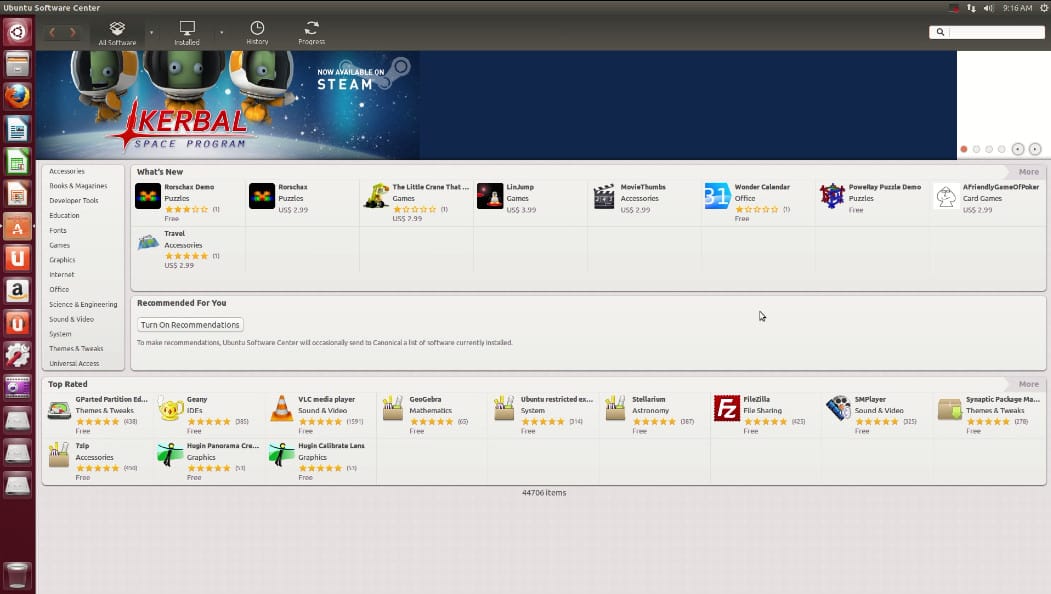
In the top right corner of the main screen in the Ubuntu Software Center you will find a search bar for searching the entire database of software. This is the item that I use most often when I am looking for a specific program. In this tutorial I will be using the search bar to search for and install a specific program called “Eclipse”
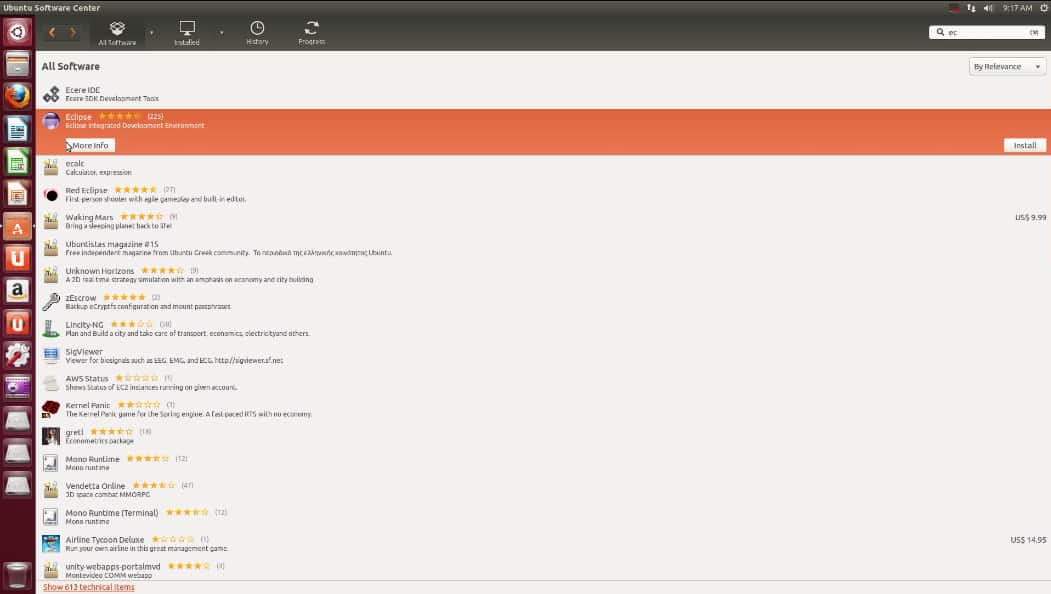
When I find the program that I am looking for I will click on “More Info” to find out more information about this particular program.
One I have clicked on “More Info” I am taken to the image shown below. From here I can find out more info about the application. From this screen I can see that the software is free and is rated at about 4 stars with several reviews about the software. I can also see the size of the program and similat programs like it.

Once I have decide to install the program I simply click install and then am prompted to enter my user password.
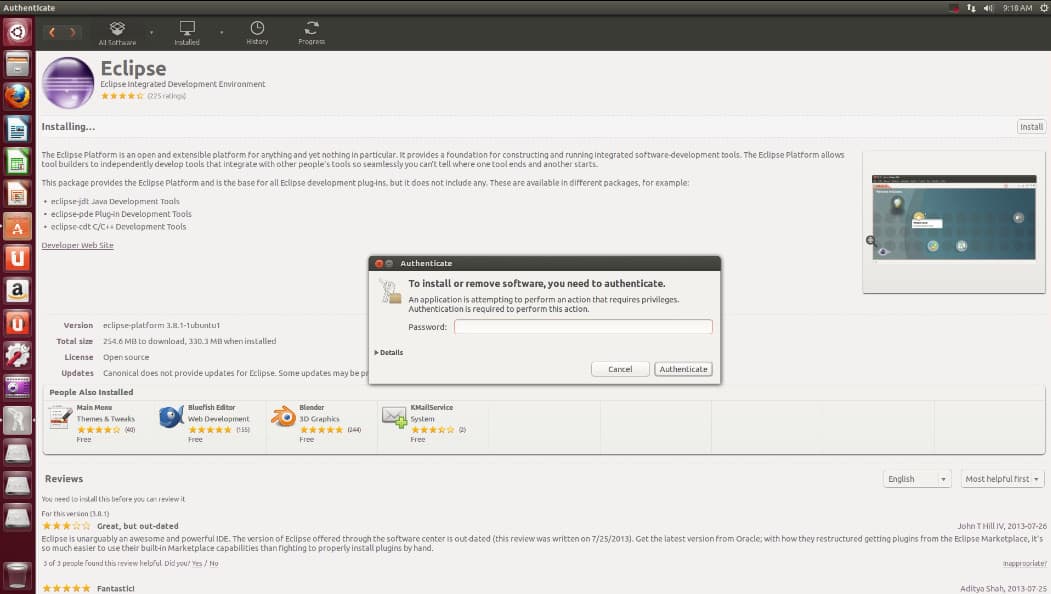
Once I have entered my password and clicked Authenticate I see that the program is now installing as shown below.

Once the installation is complete the screen will show that the Eclipse program I was installing has a status of installed as shown below.
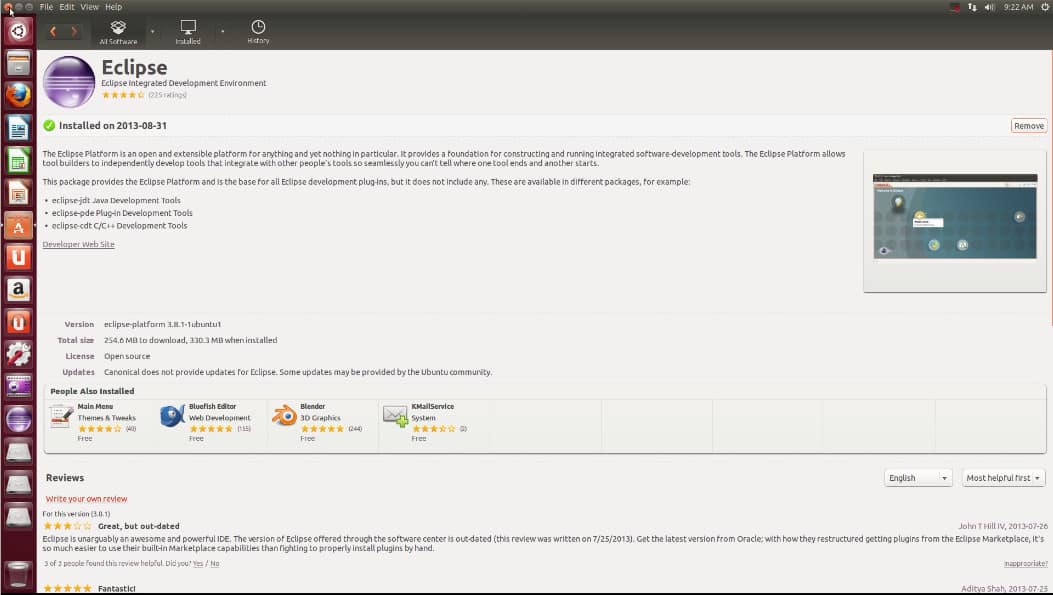
To remove an application in the Software Center simply find the application and click on “Remove”
Now that I have installed Eclipse I can go to the dash menu and see that the icon is there ready for me to click on it to run the Eclipse software.
If you have found this tutorial helpful please like and share this so other people can find this tutorial. Also, don’t forget to leave a comment below.